8. Settings
8.1 Diabetes Basic Settings
This screen allows you to define your basic diabetes settings. That is, if you have type 1 or type 2 diabetes, the unit of measurement of your blood glucose (mg/dL or mmol/L), if you want to inform your carbohydrates in grams or by levels and your blood glucose target.

8.2 Health App Integration
This screen allows you to import and export data to and from the Health app, such as your blood sugars, insulin doses, and carbohydrate doses in grams. You can import your blood glucose data in a variety of ways, selectable from the calculation method tab.

8.3 Synchronization
Through the Sync screen you can first synchronize your data with iCloud. This synchronizes all the data of the application in your iCloud account with a view to using this data on another machine such as a second iPhone.

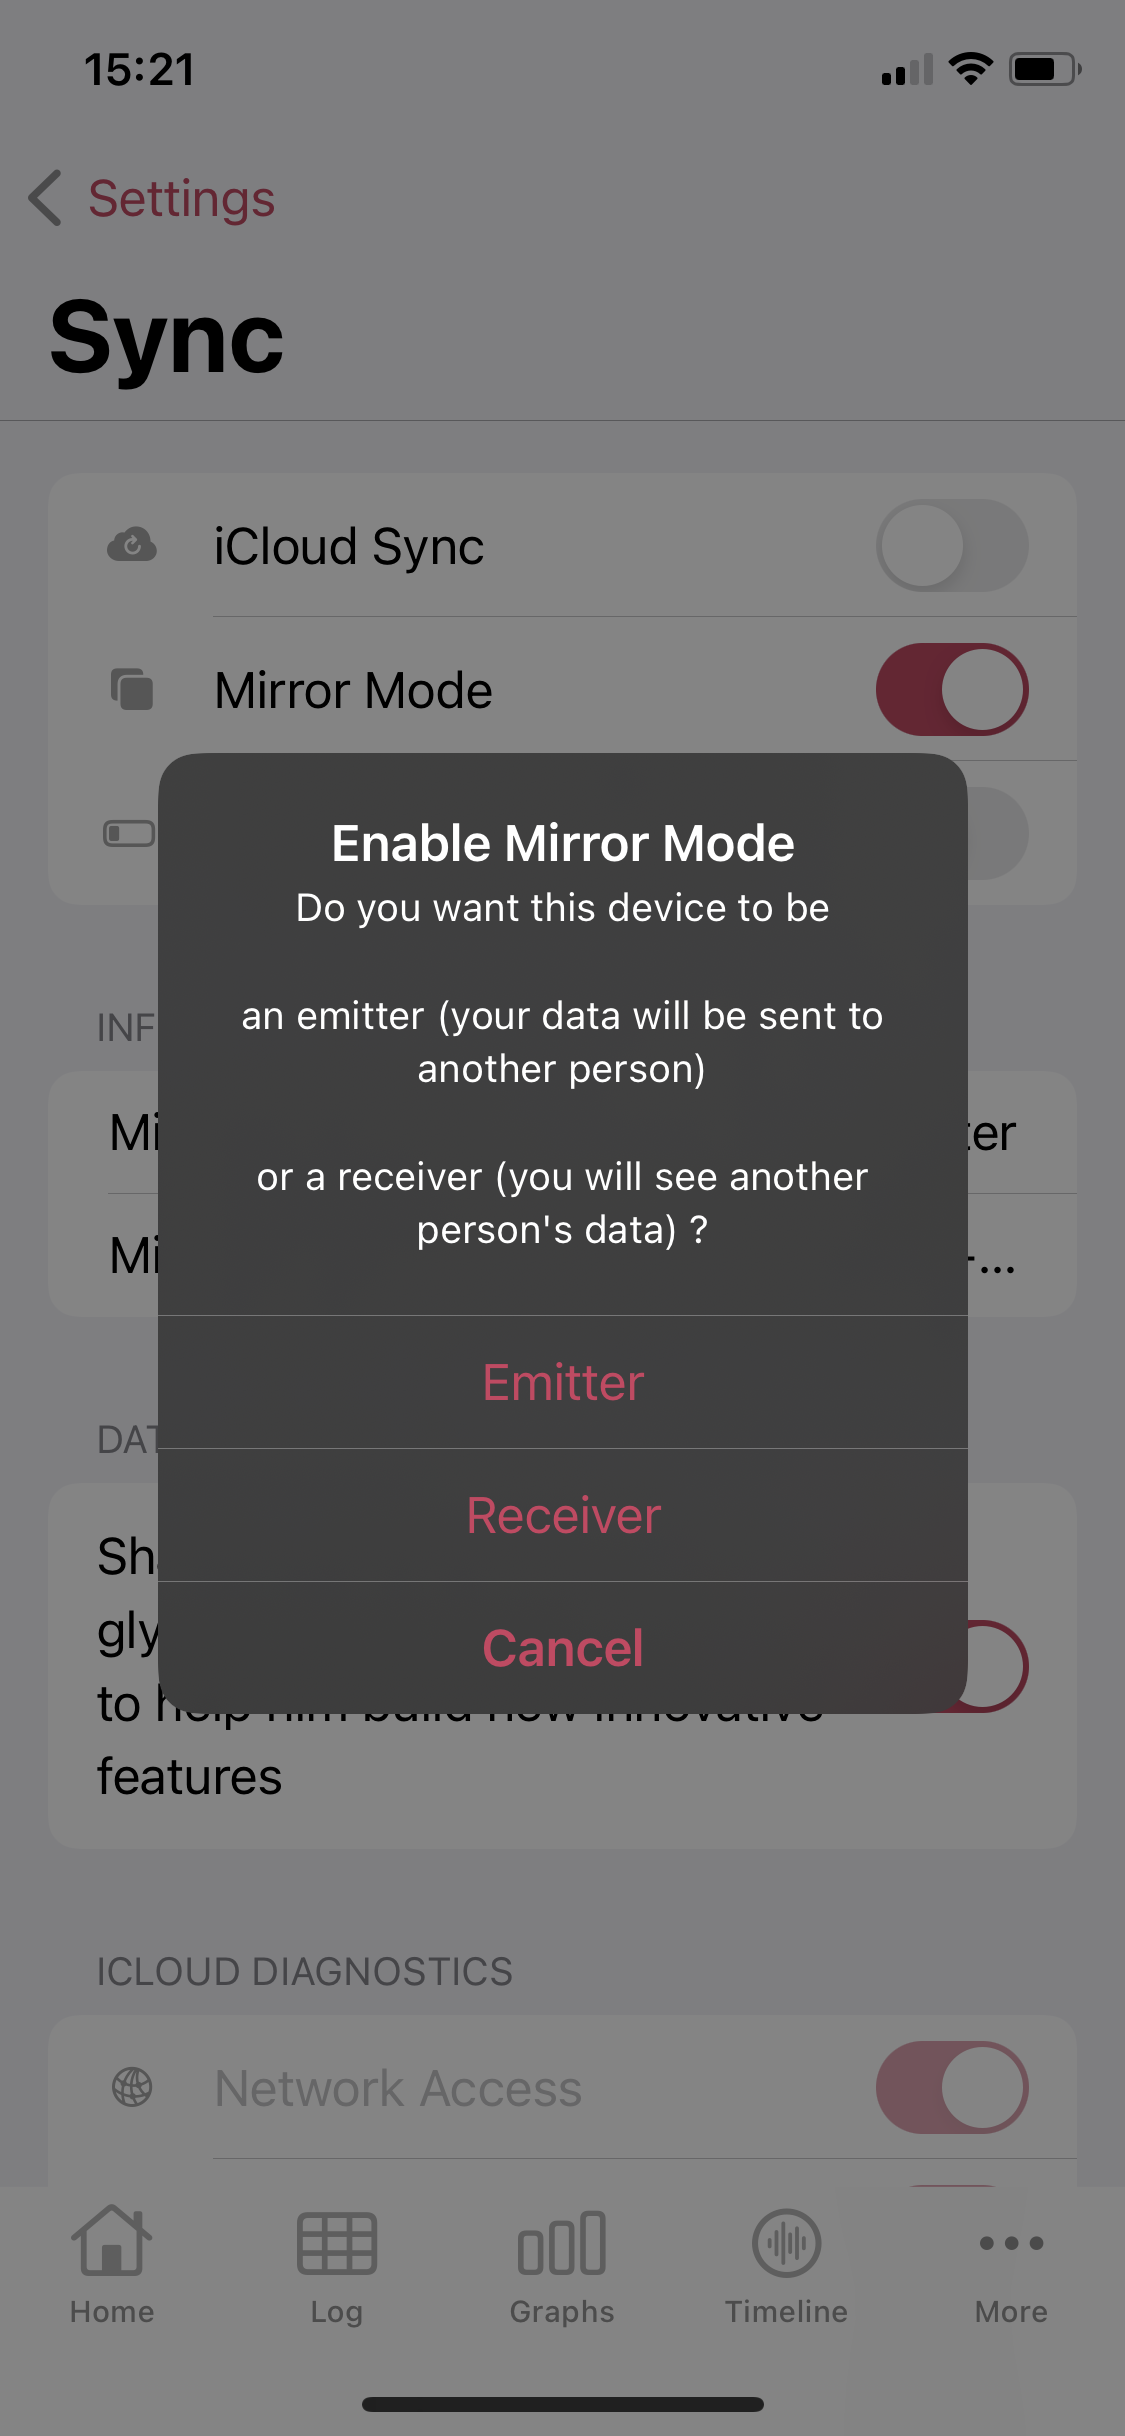
You can also use the mirror mode. This mode allows two devices to synchronize, one in transmitter mode, the other in receiver mode. All the data of the transmitter are sent to the receiver who can then consult them. To do this, you just need to activate the mirror mode and choose between the receiver mode or the transmitter mode on each of the two devices. A code will be given to the transmitter and must be transmitted to the receiver for synchronization to take place.
<mirror.png data-preserve-html-node="true" -->

<receiver.png data-preserve-html-node="true" -->

The "Sync in power saving mode" option allows you to allow or disallow syncing when in power saving mode. Data sharing allows you to anonymously share your data with the developer to help them build new innovative features. The iCloud diagnostics section has a number of indicators to help you quickly understand if you can sync your data. In order to sync your data, all indicators must be checked.

Finally, you can delete any data stored on the cloud in accordance with GDPR by pressing this button:

8.4 Treatments
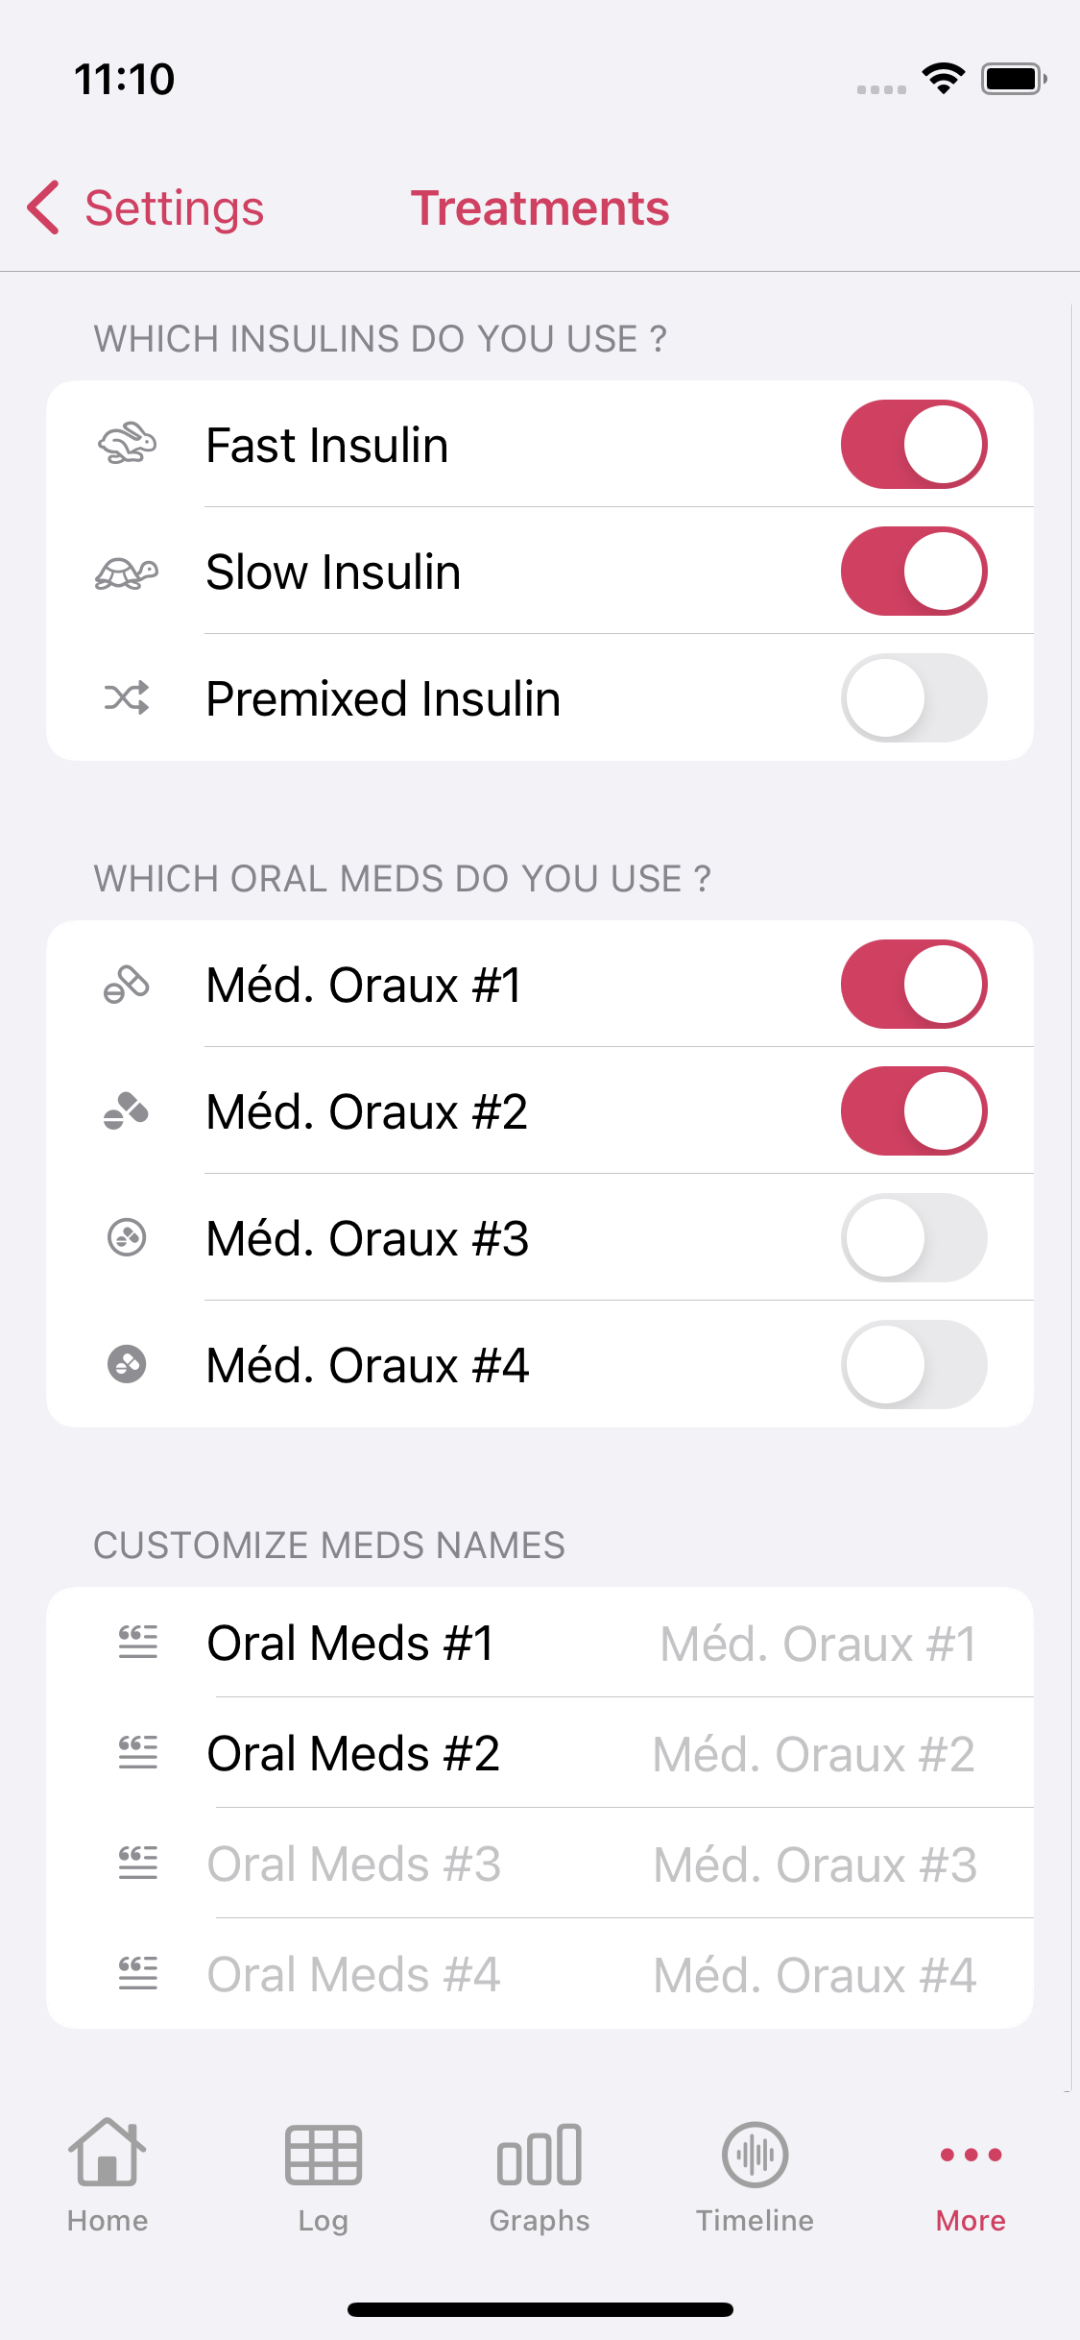
On the Treatments screen, you can select the treatments you are using for your diabetes. First, you can select whether you are using rapid insulin, slow insulin, or a mixture of both. You can also select up to 4 different oral medications that you can define the exact name.
8.5 Event start time
The Diabeto Log application regularly uses periods of the day in its operation as in the notebook or graphs. This screen allows you to set the start and end time of these periods to best customize your use of Diabeto Log.

8.6 External Devices
In the External Devices screen, you can link your Dexcom account to the application to import all your blood glucose values and insulin doses into your logbook following the chosen calculation method. To do so, press this button:

You will then be redirected to the Dexcom API where you will need to log into your account and accept the terms of use. Once this is done, your data is synchronized. You can then at any time, resynchronize your data or unlink your Dexcom and Diabeto Log account.

8.7 User Interface
In the user interface screen, you can customize your interface. First of all, you can choose the theme of the application between light mode, dark mode and auto mode which uses the iOS theme. You can then choose whether or not to display activity, postprandial data and ingested carbs in your notebook at the border of the box. You can also display the last blood glucose test as a tablet on the app icon. You can also select the activity indicator, i.e. which unit is used to calculate your activity. You can choose between steps, calories burned or you can let the application choose the most relevant indicator with the auto choice.

8.8 Customize Logbook
This screen allows you to customize the information and the location of that information in the boxes of your notebook. You can customize the boxes numbered 1 through 4. In each of these boxes, you can choose to display your slow or fast insulin doses or a mixture of both, your oral medication doses (up to 4 oral medications can be counted) or your carbohydrate doses if you have chosen to enter them in grams. To customize these boxes, simply select the desired box and choose from the list the information to be displayed.


8.9 Reminders
The reminder screen allows you to add weekly and/or monthly blood glucose summary notifications. This screen also allows you to remind yourself to enter your daily data and take postprandial measurements if desired. Finally, you can also add notifications at specific times. To do this, tap on "Add Notification" and specify the time you want to receive this notification.

8.10 Security
The security screen allows you to secure your data by choosing to use FaceID and/or TouchID to open the application

8.11 Emergency
In the Emergency screen, you can allow Diabeto Log to share your location in the emergency message in case of an emergency. You can also add one or more contacts to whom the emergency message will be sent. Finally, you can choose the duration of the hypoglycemia reminder timer.

8.12 Predictions
This screen allows you to turn on predictions that tell you with each addition of insulin and/or carbohydrates to the logbook whether you are more likely to be in, below, or out of your blood glucose target. These indications are represented by colored thumbs in the range of your blood glucose target that you are likely to be in.

8.13 Siri & Widgets
In the Siri & Widgets screen, you can first create three shortcuts with Siri to be able to add a blood glucose reading, add a treatment intake or start the hypoglycemia timer. You can also choose the indicator displayed with the widget of the application. The list of available meters is the same as for the Today screen dashboard meters.


8.14 Contact & Support
You will be able to find in this screen the different ways to contact the user support, ie, via email or via Twitter. It will also be possible to rate the application on the AppStore and to restart the introduction of the application. Finally, if you wish to report any concerns or remarks to the support, please attach your ID which you can copy to the clipboard from this screen.
